

Contents
All products and services on Project PAWS are independently selected by our editors, contributors, and veterinary experts. This post contains affiliate links. As an Amazon Associate I earn from qualifying purchases.To learn more, view my disclosure policy.
I used to make this exact Homemade Easter Dog Treat Recipe for a little boutique dog store here in Arizona. I also used to make them for clients at the animal clinic I managed for many years. It’s a basic vanilla cookie made with human grade ingredients … many of which can be substituted based on personal or dietary preference. I use a vegan food dye to color them, but there are also many natural alternatives. I’ll provide all of that in the recipe card below. Let me show you how to make these super cute treats that your dog will absolutely drool over 🙂
But before we get started, here are some things you’ll need!
Equipment needed:
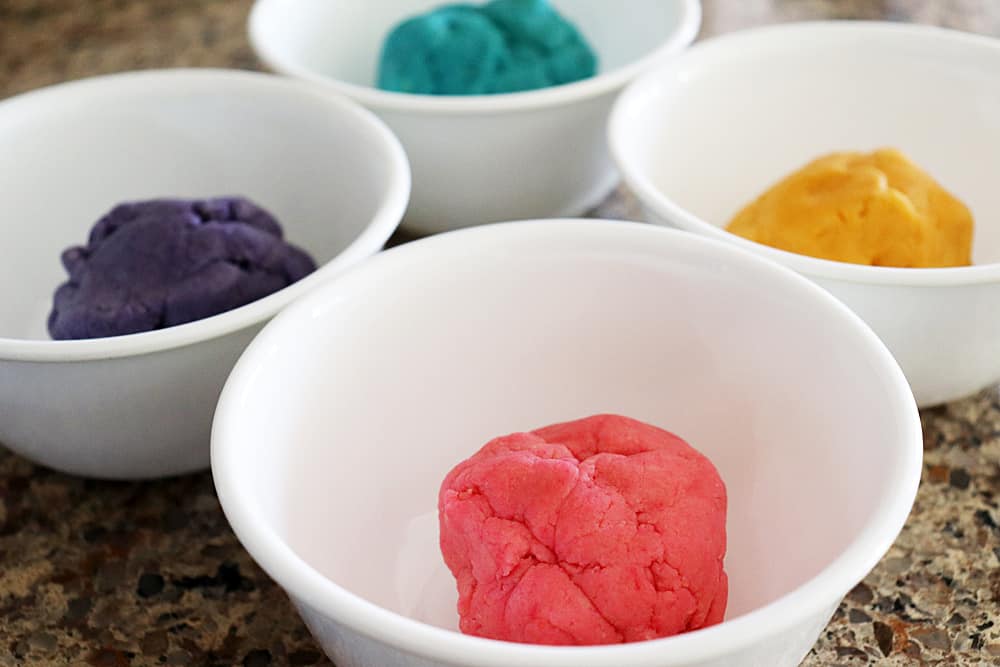
You will need some food coloring. There are several natural brands which will give you a paler cookie, but I use these vegan colors from Americolor. I am using deep pink, sky blue, violet and lemon yellow from this set *affiliate link. Less is more. These are strong colors, so go easy. I used 1 scant drop for most colors. Blue requires two.
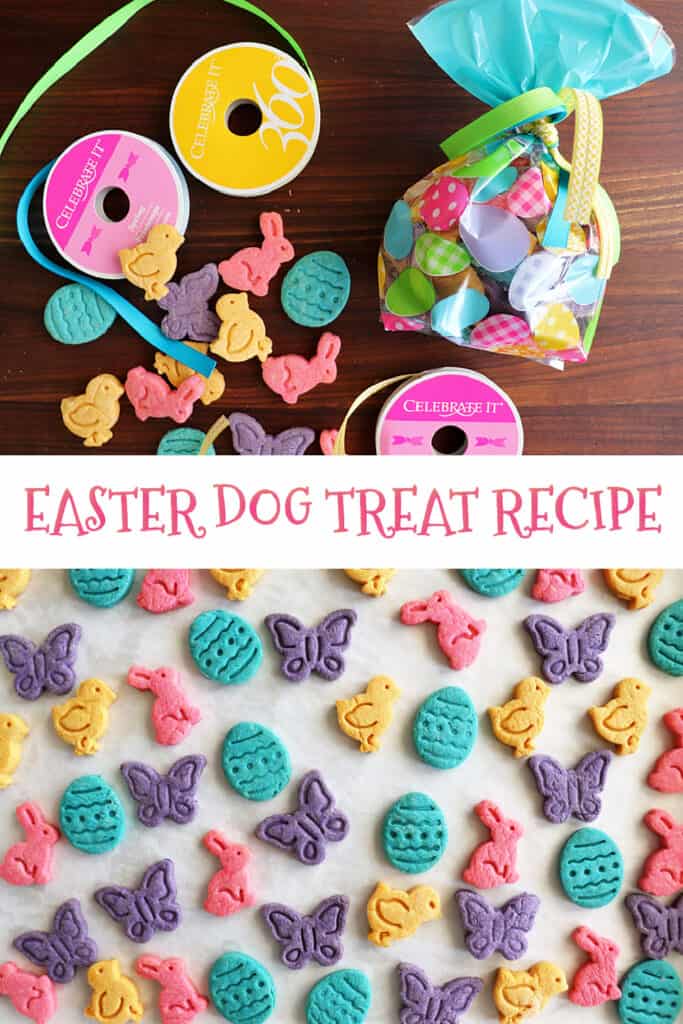
Below are the exact cookies cutters I found on Amazon *affiliate link What I love about these cutters is that you can use them just as cutters (shape only), or press with the plunger to get the imprints which stay in the cookie during baking. Since they aren’t metal, they don’t rust and wash up beautifully. They even come apart for easy cleaning.
You’ll want to get your hands on these (or alternate) cutters in advance of making this recipe 🙂
How to make my Homemade Easter Dog Treat Recipe
Now that we have our cutters and our colors, it’s time to make the dough! As mentioned, I’ve included the recipe with several ingredient substitutions in the recipe card at the bottom of this post.
I am using white whole wheat flour for the sole purpose of being able to get the lightest possible base dough so that the color shows through.
*DISCLAIMER You should always treat responsibly. I give one per day. Be aware of any food sensitivities your dog may have and substitute ingredients accordingly. Always check with your veterinarian if you are unsure.


I divided the dough into four equal portions adding one drop of food coloring to each, except blue which took two. I use my stand mixer so they are completely blended. Always begin with the lightest color so the previous colors don’t add specs of darker dye to your next color. Yellow, then pink, then blue, then purple. No need to clean the mixer bowl in between colors this way.
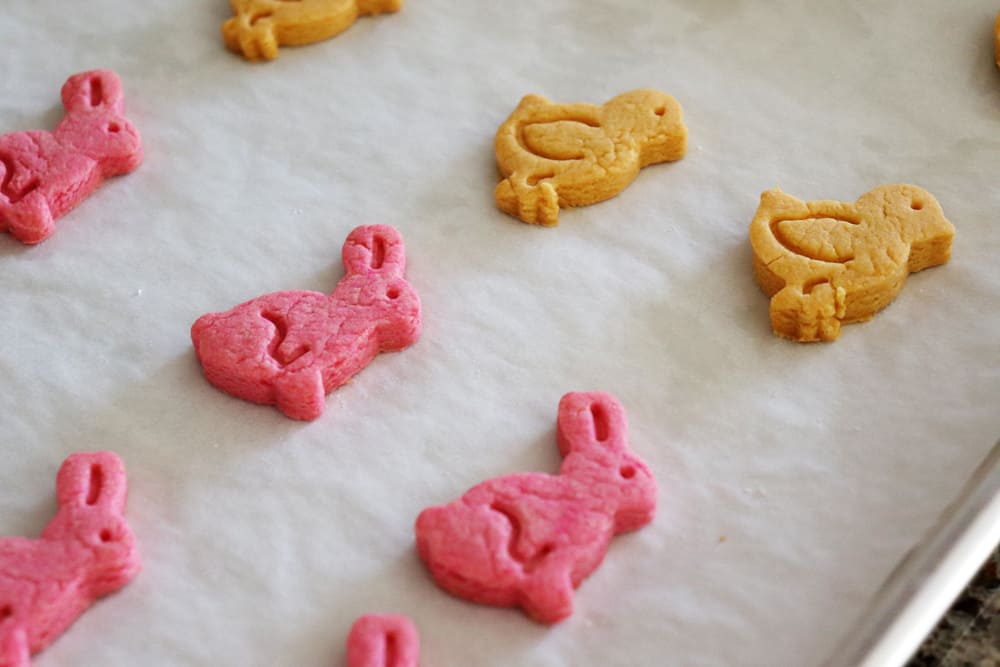
Roll the dough out and if you are using these plunger cutters, press the cutter into the dough then press the plunger. This adds the imprint. The cookies will bake a bit lighter than the dough color.


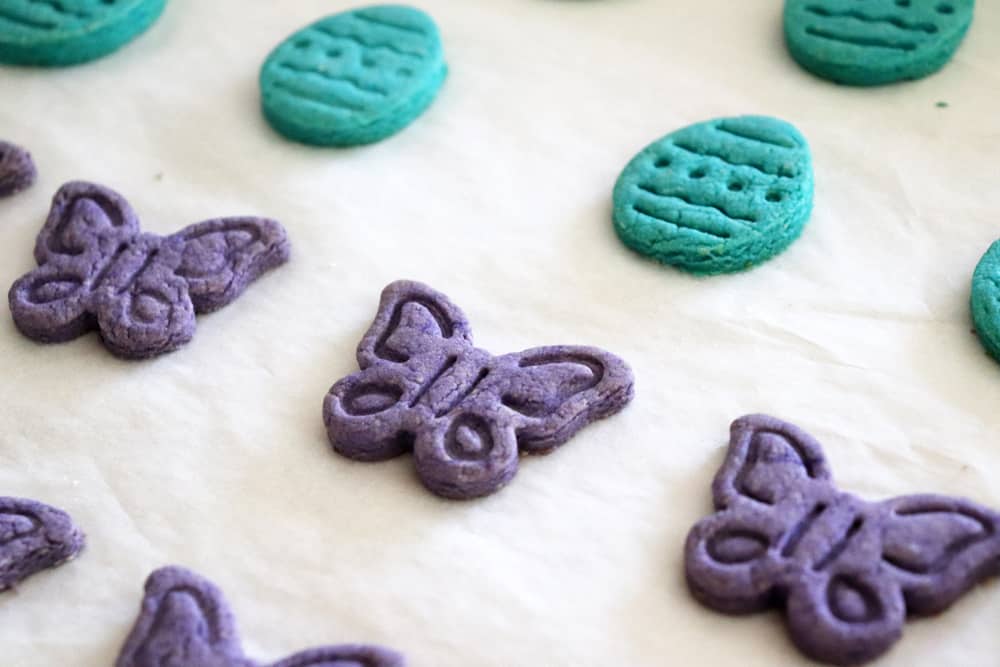
I think these came out super cute! I oven-dried mine to increase the shelf life (see notes in recipe card). This does create those little crinkles in the dough that you see here, but it’s so worth it.
The butterflies were my favorite of this set.
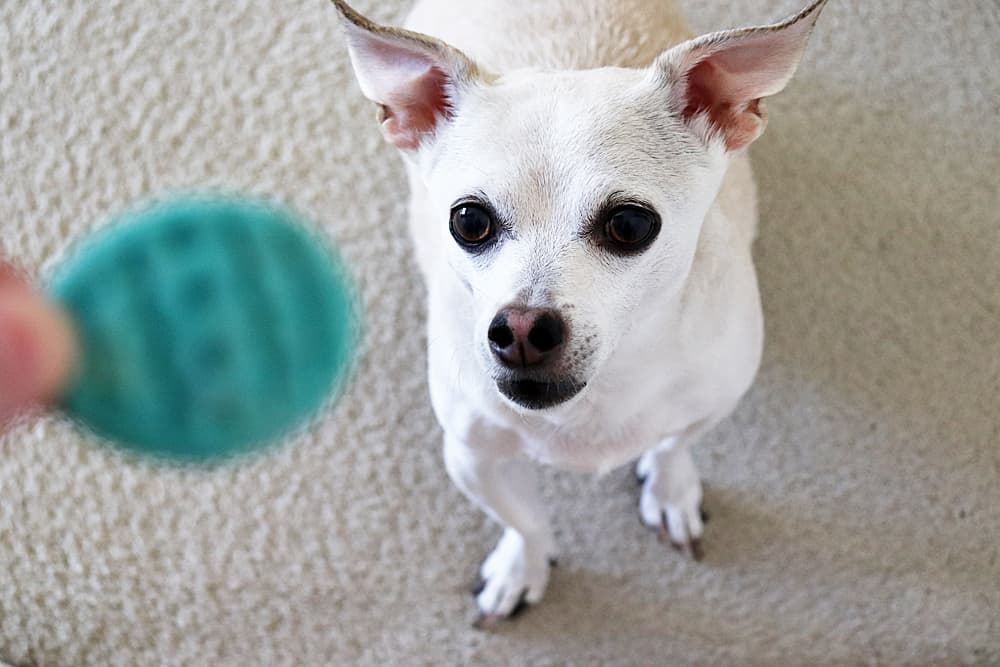
Hmmmmmmm…what are those, mom?
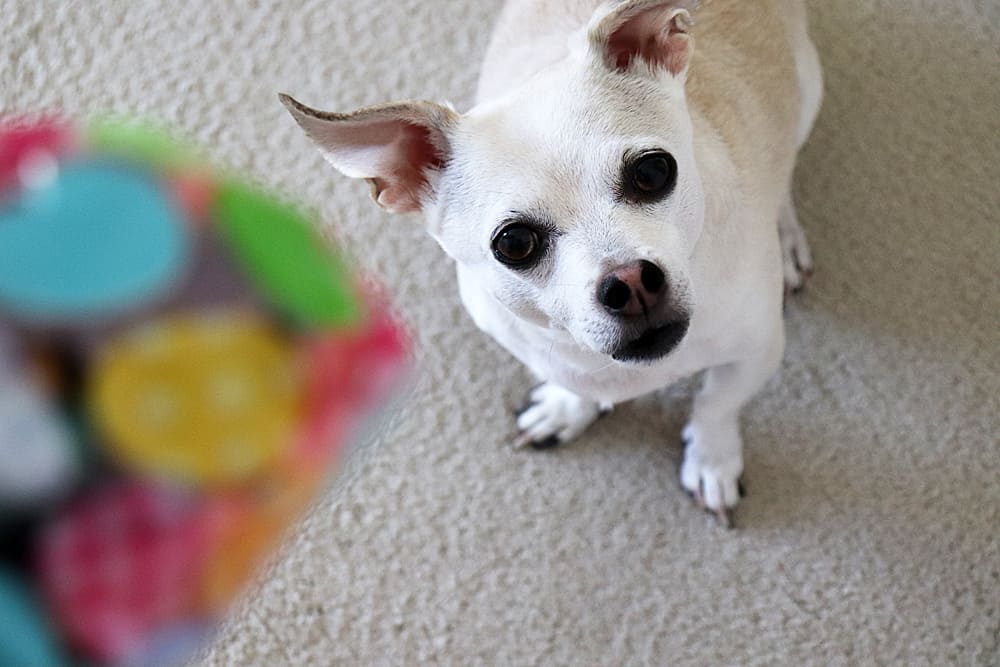
Me: “Sparky, do you want a cookie?”
Spoiler alert: The answer is always yes. Cookies are life.
Ryleigh, my other dog, took hers and ran off, so no pictures there lol
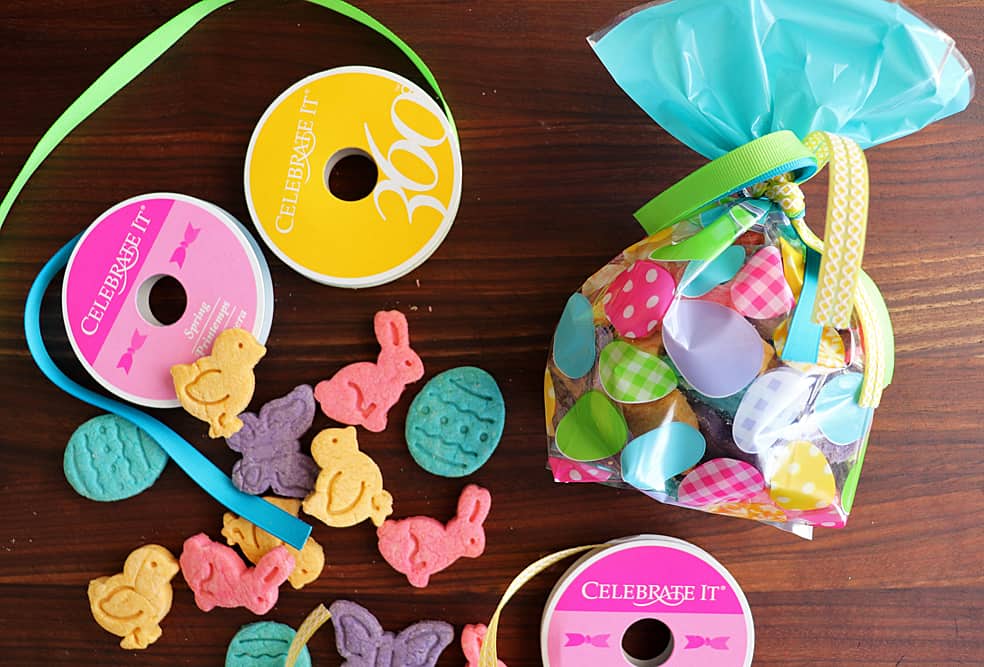
When I would sell these, I always bought Wilton treat bags at Michaels along with coordinating ribbon. Add a personalized label if you wish. They make a fun gift for the pooch in your family, especially if you take the time to oven-dry these til they are crisp. Then your recipient can continue to treat their dog for days to come without them spoiling.

FAQ’s:
Are these shelf stable? How long will they keep?
Okay, so let’s address this question. When I was selling these, I sent them to a lab for shelf life testing AFTER they had been fully oven-dried and crisp. Assuming you remove all moisture from them, they will last in a covered container for up to 2 weeks!
How to oven dry my Homemade Easter Dog Treats
Once you have baked the cookies, reduce the heat in your oven as low as it will go. The drying process can take several hours and you’ll want to toss frequently. If the oven is still too hot, you can crack the oven door open or use the oven light and turn the oven off.
Better yet…do you have a dehydrator? This is THE best tool for drying dog treats.
You will know they are done when they are cool and you break them in half hearing a sharp, crisp sound. The goal is to remove moisture so that mold cannot occur.

Did you make my Homemade Easter Dog Treat Recipe? Leave me a comment below and let me know what you thought! You can also tag me with your photos on Instagram @projectpawsrescuenetwork or on Twitter @iluvprojectpaws and on Facebook @ProjectPAWS.org
If you enjoyed the recipe, please like, share, comment and PIN! It really helps the site grow.


Homemade Easter Dog Treat Recipe
Equipment
- Stand or Hand Mixer
- Sheet Pans with Liners
- Food Color
- Easter Cutters
Ingredients
- 1 1/2 c All Purpose Flour (or White Whole Wheat Flour)
- 1/4 c Honey (or Agave)
- 1/4 c Vegetable Shortening (or Mashed Banana) if your dough is too dry, add more until its workable
- 1 large Egg (or Applesauce) OR 2 Egg Whites
- 1 tsp Vanilla if you have clear baking vanilla, use that
- 1/2 tsp Baking Powder
- Vegan (or Natural) Food Coloring
Instructions
- Preheat oven to 350 degrees.
- Combine the dough ingredients in a stand mixer or use a hand mixer.
- Divide the dough equally into four small bowls.
- Add one ball of dough back to the mixer and add a drop of yellow food coloring. Mix until thoroughly incorporated. Return the dough to the bowl and repeat with the pink, then blue, then purple. No need to clean the bowl in between.
- On a lightly floured surface, add the yellow dough and roll out. Make all of your cut outs and place on parchment lined cookie sheets, re-rolling as needed until all of the dough is used. Repeat with the three remaining colors.
- Bake the cookies for 8-12 minutes or until lightly golden on the bottom. Do not let them get brown.
- If oven-drying, reduce the heat as low as it will go and wait to put the cookies in until the heat subsides. Add the trays and allow to dry out, stirring every so often. This can take hours. If the oven is too hot, crack the door open or turn off the oven and turn on the in-oven light. Check frequently and toss so they dry, not brown.
- Allow to cool completely and store in an airtight container.